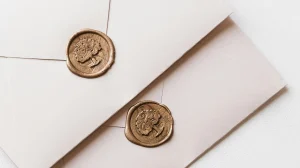
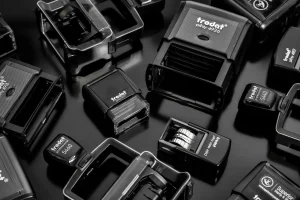
Rubber stamp tips
Below we have collected the simplest rubber stamp tips to help you self-service your stamp. Whether you are replacing the ink cartridge, affixing a new stamp die, setting the date, or just updating the sample impression, we’ve got you covered!
We also have more advanced design tips and tips on choosing a stamp further down the page.
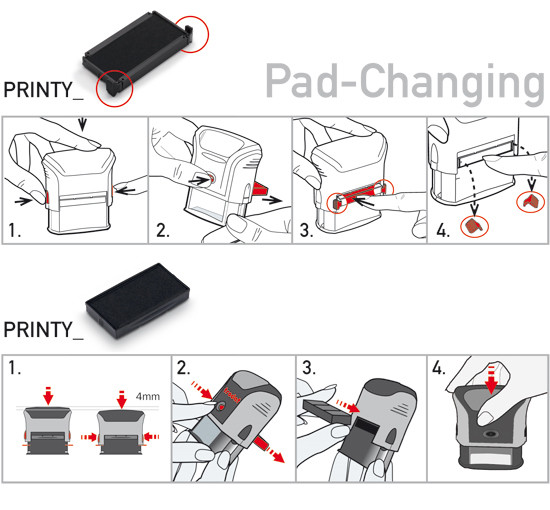
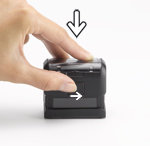
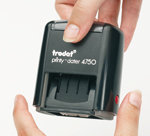
Replacing the ink cartridge
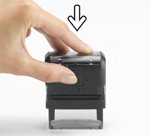
Press the stamp down so that the stamp die inside the stamp housing does not interfere with the pad. You should only need to press 2mm or 3mm.
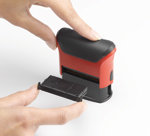
The ink pad should now slide in or out with a small amount of effort to pull past the teeth holding it in place.
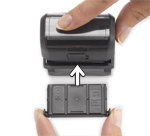
Simply place the new pad in the reverse of the way you took out the original. Note the soft pad should be facing down when you do so.
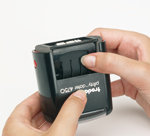
Affixing a new die / text plate
Press the stamp down and lock it either using the switch on the back (Trodat) or the buttons / dimples at either end.
Make sure old die is removed and any debris is cleared. If you have foam padding, check that the padding is not drastically uneven.

Remove the non-stick backing from the back of the new die, and place the new die onto the base. Ensure you have it nice and square so you don’t end up stamping on an angle.
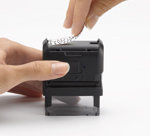
Setting the date
Press the stamp down and lock it into this position using the buttons / dimples at either end, or using the lock switch (Trodat).
Flip the stamp over and roll the disks till the appropriate date appears on the bottom. When finished, flip over and unlock the stamp.
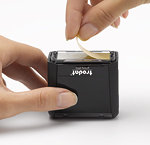
Inserting sample impression
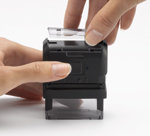
Simply lift the clear plastic cover from the front, most models require you lift away and up from the front.
Place the impression underneath and replace cover, ensuring it has clipped in correctly.